Tuesday, July 26, 2011

1/35 Tamiya 88mm Gunflak

Update!

Military Build.

What is it? An 88mm Gunflak kit. What made it memorable? The awesome details and figures! (Yes, I really had to learn how to paint 1/35 figures a.s.a.p!)

It was a pretty tricky kit which you need to combine a wheel setting with the gunflak. Held by a screw it looked quite impressive. Gave it some details, but more or less the figure painting was the most fun I had.


Sorry for the setting. Heh. I'm really quite the lazy bum when it comes to do the settings. Always thought that why bother with the backgrounds when the main star is the work...Right? Lol.

So till next time!

And don't forget to drop a 'Like' on my Facebook page ya!

RK Designs Facebook Page

Your 'Like' is important for getting updates, since RK Designs is going to develop our own line of after market parts and toys...stay tuned!

Friday, July 22, 2011

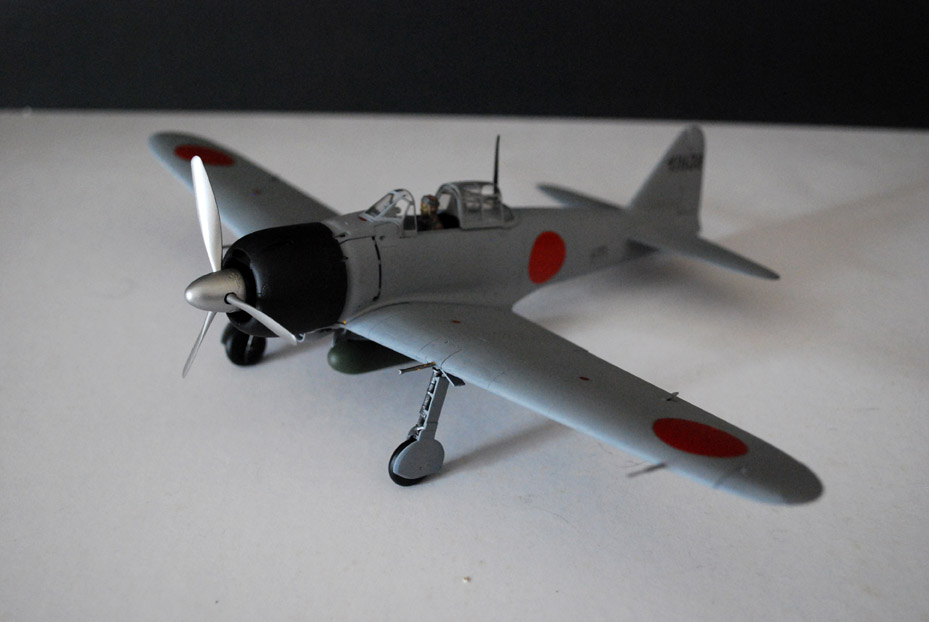
1/48 Mitsubishi Zero Fighter and Focke Wolfe Fw190

Update!

Another military build, but this time its...AIRPLANES!!! YAY!...

Okay, after so long of wanting to try my hand at building and painting fighter planes...I got my chance. My usual client has got himself into the world of WWII airplane collecting. And the lucky guy who gets to build for him is...ME!

So, how was it? Pretty interesting since it's different from tanks. You see, on airplanes we have to do lots of clean ups and not to mention the details are really amazing. But unlike tanks, painting planes are a bit different. How different? Have a look...

1/48 Tamiya Mitsubishi Zero Fighter


1/48 Tamiya Focke Wolfe Fw190


Overall it was fun. Yep. The challenge was more on the figure/pilots. I do hope to get more planes to build since I'd like to try out some other techniques that I've learned from model plane magazines (yes...I've begun to buy them now instead of Gundam magazines...lol).

So till my next post!

Cheers!

Wednesday, July 13, 2011

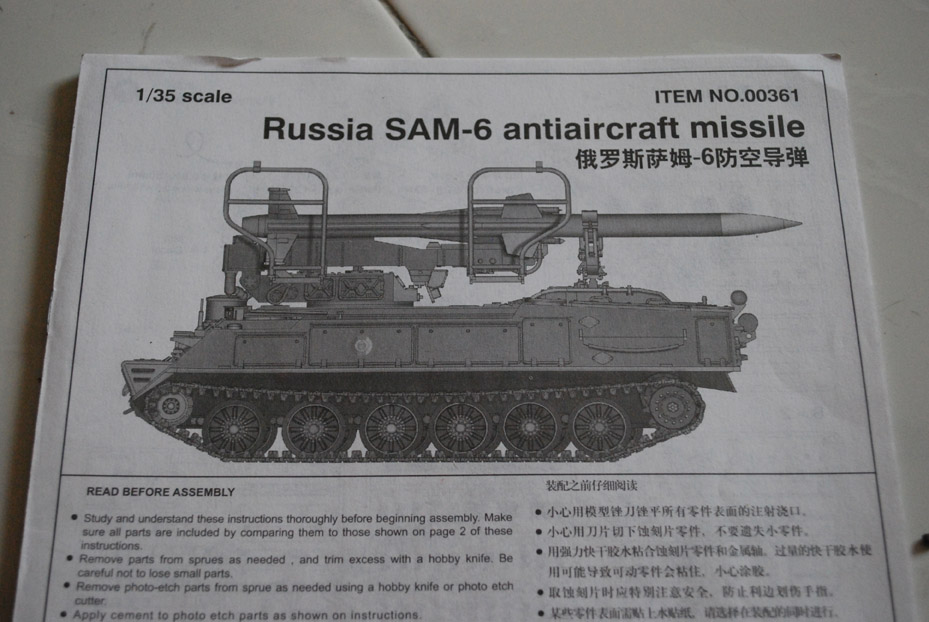
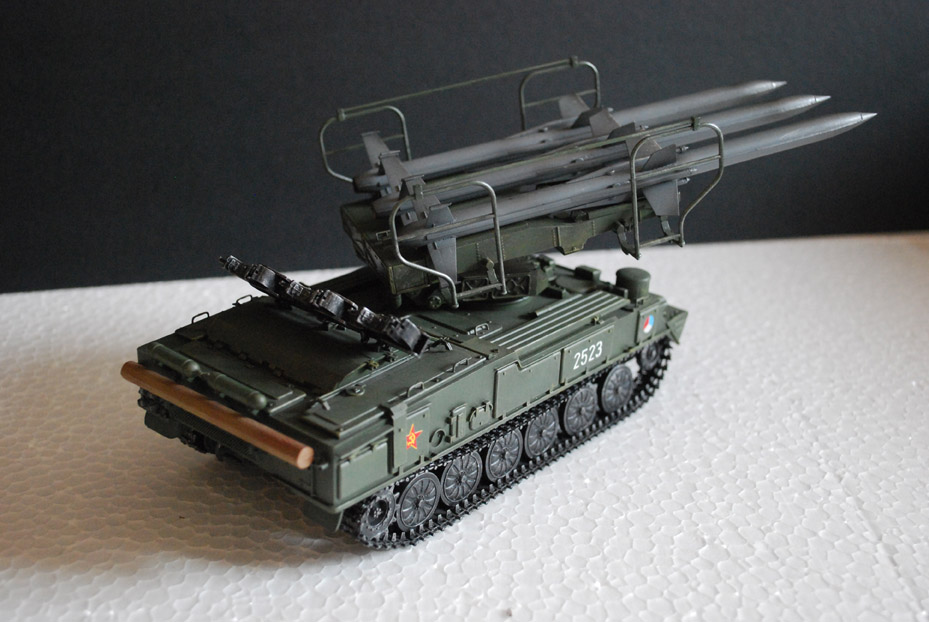
Trumpeter 1/35 Russia SAM-6 Antiaircraft Tank

Update!

Here's another military build that I did a few months ago.

This is another Trumpeter kit (which I think challenges the heck outta me) of Russia's SAM-6 Antiaircraft Launcher/Tank.


Pretty much applied the usual styles since my client wanted me to follow the pictures on the box. But I added a little bit more of detailing since I thought that the original colors looked too plain. The missiles with their small details in attaching it to the launch pad was pretty nifty.


The most challenging part was building the tank treads. Yes! It had to be built INDIVIDUALLY!! God knows how trying it was, since I'm used to treads that are already made (and its rubber too!). But it was an experience and like always, I treasure them...


Alright, another military kit notched in my resume...heh...

By the way, don't forget to drop by RK Design Studios page on Facebook and do give me a 'Like' to show support in what I do. It's not much, but a simple 'click' on the 'Like' button always manages to keep me wanting to better myself...

RK Design's Facebook Page! <--- Thanks in advance!!

Oodelaly!

Monday, July 11, 2011

XOvergen Grand Patriot

Update!

Okay, it's quite rare that I would be asked to repaint a third party Transformer figure. Furthermore this time it's from the company XOvergen.

It was said that this version of Optimus Prime is the version from the Transformers vs G.I.Joe comic series. They can't use the original name due to licensing reasons and it looks pretty good. But being the first try from this company, there were some problems and flaws to the figure. I won't mention much on it, since I'm here to REPAINT! LOL.

Alright, my client wanted me to use my military modelling style on this guy. So, I opt to use a darker shade of green. As you can see...the original has...erm...a very bright look to it.


Ahem...not really good to go into battle with this colors aye?

As usual, I'd do some pre-shading to get the right tone to it. Since this guy has a lot of edges, it would look really awesome. Now, once I've applied the pre-shades, I added some really dark green (mixture of 40% green and 60% black) to do the outer shadings to it...then used some silver for the dry brush on the body.

Now, the torso and upper legs I originally used silver. But then again it was kinda funny since the main bulk had a lot of shadings and weathering...so using a technique I recently learned from a good friend of mine, it now looks way better.

Okay, no more talk. Let's see 'em photos!


Overall it was a pretty fun project to do, so I wouldn't mind doing another (hint...).

Now, if there was someone who would want me to do a Shattered Glass version of Fansproject's Protector...eh...wait...oh...they did it already...LOL...

Cheerios!

Saturday, July 9, 2011

ROTF Leader Class Optimus Prime

Update!

Yes. Another Optimus Prime repaint. But this one uses a technique which was taught by a very good friend of mine. It's a pretty nifty technique, and for me...another notch in my repainting skills. I'm still on the learning process and it gives me great pleasure and fun to be able to do what I do.

Anyhoo, this was one of the Primes that I was given to custom repaint for Big Cinema Sdn. Bhd. Last I heard, this guy has been packed and ready to be shipped to India to be one of their prizes for a contest there. Heh.

Okay...so here he is.

Leader Class Optimus Prime


So here's to hoping that the winner in India would really appreciate what I've done and take very good care of this Prime.

But...maybe I'll be seeing him on ebay pretty soon...LOL.

Cheers!

Monday, June 27, 2011

ROTF Nemesis Prime ver. 2

Update!

There you go. Finally!

Okay, so the movie is coming out in the next few days. So yeah, posting movie-verse Transformers repaints is part of celebrating the last movie by Micheal Bay.

I remember doing one of these a while back, but this one was supposed to be done around the same time. I owed this to my sister in-law (yes...she collects primes) way back, but just recently got myself to finishing it...

So, like before I prefer to have Nemesis stylings to be more 'lined' than 'flaming'. Lol. I've always thought that being the reverse version of Optimus Prime should have it all...different.

Enough talk...here it is.

ROTF Nemesis Prime


Here it is. There will be more postings...hopefully by today (if the internet doesn't screw me up...).

Hakuna Matata~!

Sunday, June 26, 2011

RK Designs on Facebook

Hey all...

Sorry that I haven't posted anything yet for this month, but there will be some updates for the next few days. Promise!

Just wanted to give a heads up to RK Designs followers that we now have a Facebook page. Here it is...

RK DESIGNS ON FB! <-- Click here!

So, hope you all will take the time to visit and give us a 'like' to show your support. And we hope that in the years to come, we can one day produce our own products...

Thank you all again for being with us all these years!

Cheers!

Ryukaze

Wednesday, June 1, 2011

How it all started...

Hello all...sorry, but no updates yet...haven't had the time to shoot photos of my current projects...

But I do have a story to share with you all my dear avid followers...heh...

I was talking with my wife last night and she asked me, how did it all started...So I went back to when I was wee little boy, but she stopped me...and asked, "How did RK Designs began dear..."

Oh...

That story...heh...

And I think I haven't shared that little story...so here we are...now get yourself a warm blanket and a nice cup of chocolate drink...and let me tell you a tale of hard painting and tough sandings...

You see, I have been dabbling in Gundams for a very long time...but I actually started kitbashing way back in the 1980's...I was in primary school and my family wasn't that well off. So I had my fair share of toys that I played till it was...erm...unplayable...but I loved my toys no matter what and kept on playing and I modified them. Yep. That was my earliest kitbashing that I can remember...

In the later years, I sort of left what I was doing and started doing other things...scratchbuilding. Yeah, using cardboards and other art materials I was able to make my own Starmax Bomber, Starwolf and a command base. Cool huh? Yeah. I wish I had photos of them cause most of it was destroyed.

Now, fast forward to 2005. I had purchased some knock-off Transformer toys which was an Armada Optimus Prime and Starscream. The reason? I was just curious.

So I thought to myself, what can I do to make this guys better? Not having an airbrush means I'd have to handpaint. And those suckers are quite big and hand brushing wouldn't be smooth. So I went out and bought me a can...wait...make that a few cans of aerosol paints. So being new to this medium, I worked on the Prime. It was quite tedious since I didn't really know what I was doing...

Now they call it...Repainting.

And here's the Armada Optimus that I did in 2005..(it was never finished due to the fact that I started to work on other things...heh)


Ugly huh? With so called panel linings...LOL...

Then I got my airbrush set...and came this...


Masterpiece Starscream to Starscream G1 (TomyTakara) in 2007.

Then...


Masterpiece Starscream to Thundercracker (Hasbro) in 2008

And...


Masterpiece Skywarp to Sunstorm (Hasbro) in 2010...

Must be wondering why I posted images of the Masterpiece Seekers rather than the other works I've done...I guess the MP Starscream was the one repaint that started it all...way back in 2007.

Sigh...now that was a trip down memory lane eh? I guess the upcoming Transformers 3 movie sort of made me go all nostalgic when I started all of this...sometimes, we tend to forget the reason why we do the things we do...not fame, not glamour, not publicity, not acknowledgment and heck not even for money...

but simple honest to God passion.

And I know most customisers has their reasons of doing what they do, but they do it with passion and that is something that should be treasured and not forgotten.

It all started on that one day that I bought the knock-off Optimus Prime and the cans of aerosol paints in 2005.

And the rest is history...